Can I Fix a Dripping Tap Myself?
A dripping tap might seem like a small annoyance, but that steady drip wastes water, can raise your utility bills, and might hint at a larger plumbing issue. Many homeowners wonder: can I just fix a dripping tap myself and move on? The answer is often yes.
With a few basic tools, a little patience, and the right approach, you might fix the problem yourself. But it does not always stay simple. In this post, we’ll walk you through when DIY works, how to do it properly, and when you should call a professional.
Why a Dripping Tap Matters
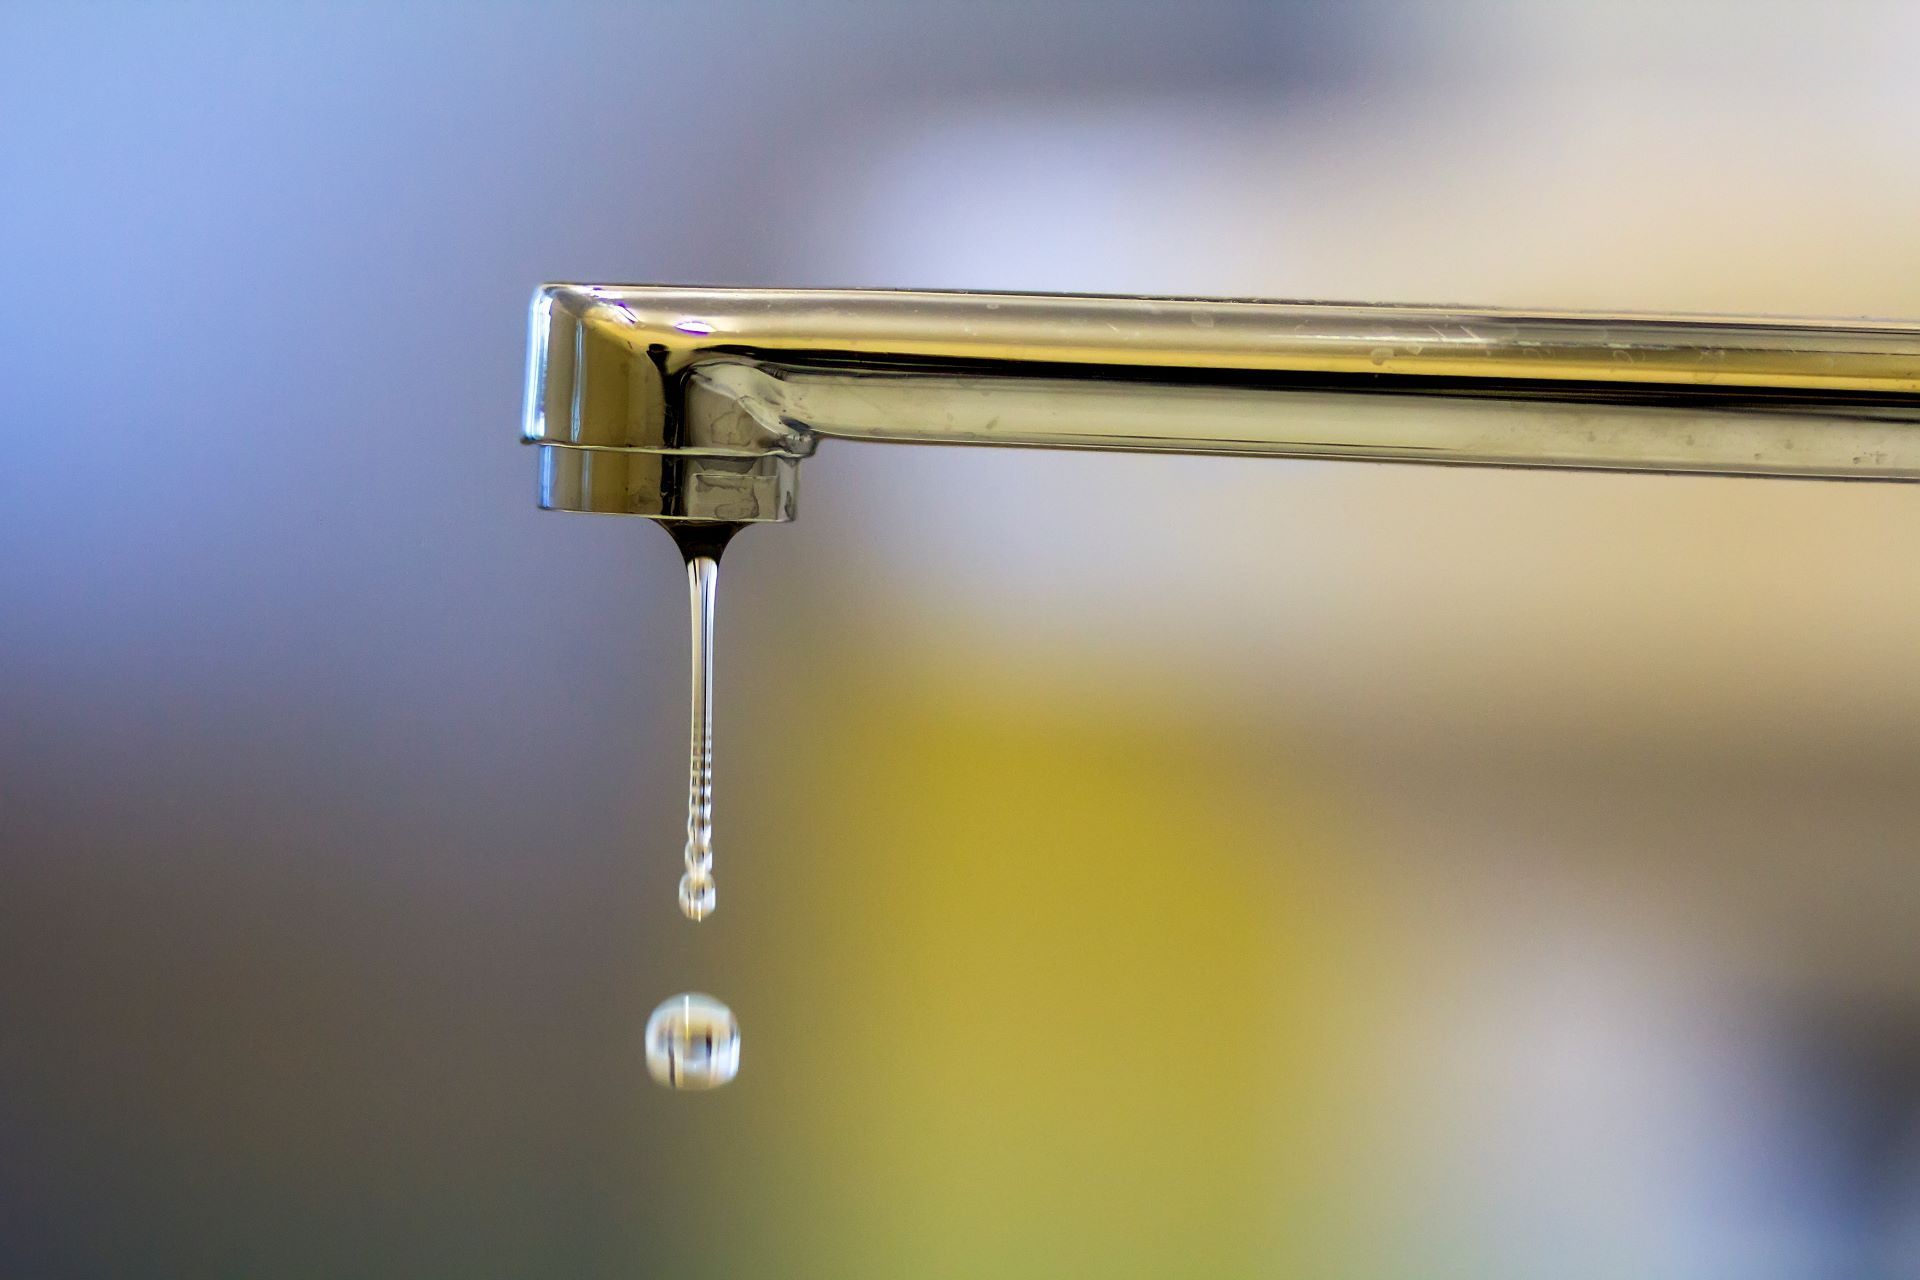
A slow drip may not sound like much. But over time, the waste adds up
- Even a faucet dripping once per second can waste over 3,000 gallons per year, according to the USGS.
- That wasted water adds to your monthly bill.
- Constant drips can damage fixtures, cause corrosion, or lead to hidden water damage under sinks.
To put it in perspective, a single
leaky faucet could fill over 50 bathtubs each year. That’s not just bad for your wallet—it’s a significant strain on your local water supply, especially in areas experiencing drought or water restrictions. Beyond utility costs, water damage caused by constant dripping can lead to costly repairs to cabinetry, drywall, or even subflooring.
Fixing the drip early saves water, money, and prevents bigger headaches down the road.
Are You Allowed to Fix a Tap Yourself in Tennessee?
In Tennessee, many homeowners are allowed to perform minor plumbing repairs on their own homes. Tasks like replacing a faucet washer or cartridge typically fall into this category.
However, local codes vary, and more extensive plumbing work may require permits or a licensed plumber. If your project involves changing pipe layout, relocating fixtures, or anything beyond the faucet, check with your local building department first.
In short: replacing a washer or cartridge is usually allowed, but confirm with local regulations to stay compliant.
Also, if your home is part of a homeowners association (HOA), be aware that they may have separate rules or require notification before any repairs are made—even minor ones. Safety and liability are always top priorities, so don’t take shortcuts when it comes to plumbing compliance.
Common Causes of a Dripping Tap
Before grabbing your toolbox, it helps to understand where the leak may come from. Common culprits include:
- Worn-out washer or O-ring
- Damaged cartridge or ceramic disc
- Corroded valve seat
- Loose internal seals or packing nuts
- Mineral buildup from hard water
Drips can also come from incorrect faucet installation or manufacturing defects. In rare cases, excessive water pressure from your municipal supply may contribute to leaks and require the installation of a pressure-reducing valve (PRV). If you’ve recently noticed fluctuating water pressure in your home, this could be a red flag worth investigating.
Correctly identifying the issue helps avoid replacing the wrong part.
What You’ll Need Before You Start
- Adjustable or basin wrench
- Flat-head and/or Phillips screwdriver, or Allen key
- Replacement washers, O-rings, or cartridge
- Plumber’s tape (PTFE)
- Towel and small container or bucket
- Optional: brush or cleaner for buildup
Before you begin:
- Locate the shut-off valves (under the sink or nearby). If unavailable, shut off the main water line.
- Open the faucet briefly after shutting off to relieve pressure.
It’s a good idea to take photos during disassembly. That way, if you lose track of what goes where, you can reference the images to ensure correct reassembly. Keeping parts organized on a towel or tray helps avoid misplacing small components.
How to Fix a Dripping Tap
Compression (Traditional) Faucets
- Shut off water and relieve pressure.
- Cover the drain.
- Remove the handle.
- Unscrew the bonnet/nut and remove the valve stem.
- Replace the washer and O-ring.
- Inspect and clean the valve seat.
- Reassemble the faucet.
- Turn the water back on and test.
Cartridge / Ceramic-Disc / Single-Handle Faucets
- Shut off the water.
- Remove handle and decorative caps.
- Unscrew bonnet nut and pull the cartridge.
- Replace cartridge and O-rings if worn.
- Reassemble and test.
If you’re unsure about the type of faucet you have, try looking up the brand name and model online using the manufacturer’s logo or part number (often stamped underneath or on the base). Most brands offer downloadable diagrams and part numbers for replacements.
When the Drip Doesn’t Stop
If the faucet still leaks after part replacement, the issue may be:
- Corroded valve seat
- Cracked faucet body
- Incorrect or poor-fitting parts
- Need for complete faucet replacement
You may also be dealing with sediment or buildup inside the plumbing that’s interfering with the seal. In this case, professional flushing or inspection may be required to restore full function.
At this point, call a licensed plumber to assess and resolve the issue.
Pros and Cons: DIY vs. Hiring a Plumber
Pros of DIY
- Saves time and money for simple issues
- Learn how your plumbing works
- Immediate results for minor repairs
Cons of DIY
- Misdiagnosing the issue can waste time
- Over-tightening can damage parts
- Complex jobs may violate code
- Parts may be hard to match or find
Also, DIY projects can take longer than expected. A simple washer swap might turn into a multi-hour repair if parts are corroded or seized. Time is valuable—factor in the potential for frustration and multiple trips to the hardware store.
When to Call a Licensed Plumber
Call in the pros if:
- Leak continues after DIY attempt
- Leak is under the sink or at supply lines
- Faucet is outdated or uncommon
- You’re uncomfortable working with plumbing
- Work involves code compliance, repiping, or upgrades
Professional plumbers can also evaluate your entire plumbing system to ensure no hidden problems are developing. They have the experience, tools, and certifications to perform safe, reliable repairs that last.
How to Prevent Tap Leaks
- Avoid overtightening taps
- Use gentle pressure to shut off
- Address mineral buildup regularly
- Replace old parts before they fail
- Run rarely-used taps occasionally to maintain seals
Consider installing a whole-home water softener if your area has hard water. This can dramatically reduce mineral buildup in your fixtures and extend the lifespan of plumbing components. Periodic maintenance checks, even simple visual inspections, go a long way in catching problems early.
Have Dripping Faucet? Call Us Today!
In many cases, DIY faucet repair is practical and safe. With basic tools and patience, you can stop a drip, reduce waste, and extend the life of your fixtures.
But if the problem turns out bigger than expected, don’t hesitate to bring in a licensed expert.
If you’re in Knoxville or nearby areas in East Tennessee, the team at Quality Plumbing, Heating, Cooling, & Electrical can help with fast, reliable faucet repairs and replacements.
Contact us today!
Request an Appointment
Fill out the form below and a member of our team will be in touch to schedule an appointment.